Hi,
I added more light to my tank a couple of months ago to improve plant growth. I currently have around 2 watts per gallon. I decided not to go for CO2 and see if I’d manage without it. However, recently I experienced an algae bloom and started to look around for a C02 system. The cheaper systems are yeast based, but are only suitable for tanks up to 100l. Mines 230l so it wasn’t a runner unless I bought two of them.
Pressurised systems are more expensive working out at around €160 complete with a solenoid (on eBay). Before I splashed out, I decided to give the DIY CO2 method a go. I frequent a UK forum from time to time and many of the experienced members there highly recommend it.
The system is also very cheap to set up and maintain. Here’s what I needed:
2l lemonade bottle
0.5 litre lemonade bottle
Length of aquarium silicone tubing
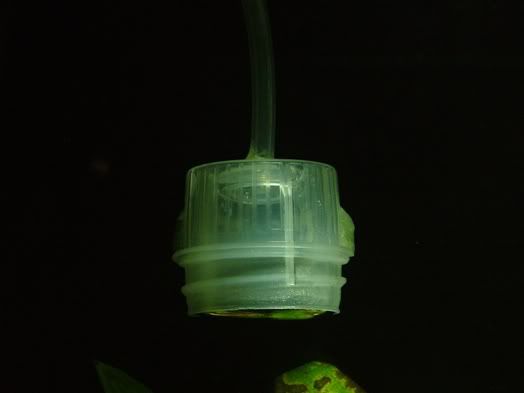
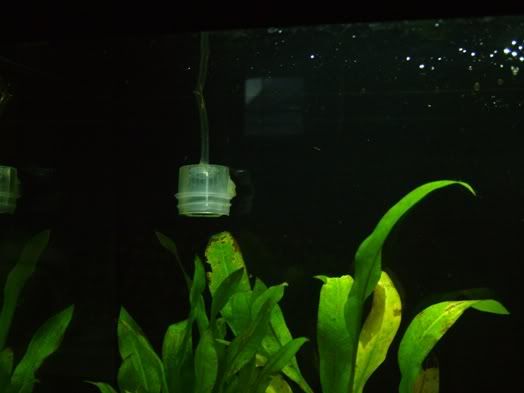
Air stone
Non return valve
Sachet of bread making yeast (found in any supermarket)
Teaspoon of Baking Soda
Two cups of sugar
The first task was to drill holes in the bottle tops of a diameter slightly less than the diameter of the silicone tubing. One hole in the lid of the 2l bottle and two holes in the lid of the 0.5l bottle. I then fitted the silicone tubing into the holes – one from the 2l bottle into the 0.5l bottle and one from the 0.5l bottle into the tank. Then attach the air stone to the tank end. The 0.5 litre bottle allows you to count bubbles and also acts as a guard if the mixture in the 2l bottle bubbles over, i.e. not contaminating the tank.
The silicone tube is an airtight fit in the holes so has to be compressed when pushing it through. However, once there, it fits well and is air tight.
The next step is to create the mixture. Firstly fill the 2l bottle half way with warm water (not hot). Add the two cups of sugar and then swirl the mixture around. Then top up the bottle to three quarters full with cold water. Then add the sachet of yeast and swirl around to mix well into the mixture. You can also add a table spoon of baking soda which is supposed to stabilise the amout of CO2 released.
Then simply attach the cap to the 2l bottle (the one with one hole) and then fill the 0.5l bottle half way with water only. The silicone hoses into the 0.5l bottle should be about 4 inches long inside the bottle from the 2l bottle so it’s submerged in the water and about 1inch long inside the bottle going to the tank (not submerged in the water). The silicone hose inside the 2l bottle should be about an inch long inside the bottle (not submerged in the mixture).
Once connected up, you should start to see CO2 bubbles within 30 minutes or so.
The amount of C02 in the system can be monitored by checking your pH and KH. There is a table available online which allows you calculate the amount of C02 in your tank using these two readings.
www.csd.net/~cgadd/aqua/art_plant_co2chart.htm
pH needs to be checked daily to ensure it remains stable. The higher your KH, the less issues you should have in this area.
My pH was 7.4 before I added the CO2 and dropped to 6.4 in 24 hours. This was a bit too much. Some recommend not to connect the bottle to the tank for 24 hours to avoid that initial burst of C02. The bottle should be left open in a ventilated area. Never cap a bottle with the mixture as it is likely to explode!
My pH has now stabilised at 6.8 and I have seen appreciable plant grown during the week. My plants are definitely looking healthier and are growing faster.
It’s also recommend to replace the mixture in the 2l bottle every two weeks to ensure an even flow of C02. I’ll have a second bottle and will prepare it the night before and leave it to vent. This will avoid the initial burst of C02 that I experience first time round.
This is worth a try if you feel you want to add CO2 but want to avoid the high cost. For me, it also had the added benefit of lowering my pH as it was a bit on the high side.
I can post some photos if anyone's interested.